Table of Contents
Tomatoes, one of the most versatile and nutritious vegetables, form the cornerstone of numerous cuisines around the world. Starting from the wide range of varieties to meticulous planting strategies, tomatoes offer hobby gardeners and farmers alike, a delightful experience in cultivation. Whether it’s juicy beefsteak tomatoes for your burgers or sweet cherry tomatoes for your salad, understanding your region’s climate is key to choosing the right variety. Delve a little deeper and you’ll discover the fascinating world of seed starting, offering extensive insight into when and how to start off, based on indoor or outdoor conditions. Additionally, soil preparation and specific planting techniques are crucial, as they can notably impact the plant’s overall productivity.
Tomato Varieties & Seed Starting
Exploring Tomato Varieties
There are hundreds of tomato varieties, each with unique taste profiles, colors, sizes, and growth habits. Some popular types include beefsteak tomatoes, known for their large size and meaty texture, ideal for sandwiches. Cherry tomatoes are small and sweet, perfect for salads. Roma tomatoes, or plum tomatoes, have a compact, meaty body that makes them great for sauces and canning.
Tomatoes and Climate Considerations
Different tomato varieties perform better in certain climates. For example, if you live in a cooler climate, consider short-season varieties like ‘Early Girl,’ which matures quickly and can beat the frost. In contrast, warmer-climate gardeners might favor heat-tolerant types like ‘Solar Fire.’ Some tomato varieties, like the ‘Greenhouse’ types, are developed specifically for indoor growing conditions.
Understanding Seed Starting
Starting tomatoes from seeds allows you access to a broader range of varieties and can be less costly than buying seedlings. To start your seeds, you’ll need a seed tray or pots, seed starting mix, a warm spot, and light. Fill your chosen containers with the seed mix, gently press the seeds into the soil, and then cover them with a thin layer of soil. Keep the pot in a warm spot and ensure it stays moist. The seeds will typically germinate within a week to ten days.
Seedlings Vs. Starting from Seeds
While starting tomatoes from seeds can be exciting, it takes time and patience. You have to wait for the seeds to germinate, which takes about 1-3 weeks, and then another 4-5 weeks before they can be transplanted outdoors. For gardeners who don’t want to wait, purchasing seedlings or young plants from a garden center may be more convenient.
When to Plant Tomato Seeds Indoors and Outdoors
The exact timing for tomato planting varies based on your specific climate and the date of the last spring frost. As a general rule, tomato seeds should be started indoors about 6-8 weeks before the last expected frost. Depending on your growing space and setup, this could be anywhere from late winter to early spring. Once the danger of frost has passed and the soil has warmed to at least 60 degrees Fahrenheit, it’s safe to transplant seedlings outdoors. Anytime from late spring to early summer is generally suitable for planting tomato seeds directly outdoors.

Soil Preparation and Planting Techniques
Understanding Tomato Preferable Soil
Tomatoes thrive best in well-drained, nutrient-rich soil. The ideal pH for tomato plants is between 6.0 and 6.8. Any soil, whether sandy, clayey, or loamy, can become a good growing medium for tomatoes if properly prepared with organic matter. The use of compost, aged manure, or a good quality garden soil mix can help to incorporate the required nutrients. Add these materials to the top 6-12 inches of your garden bed or pot.
How to Prepare the Soil for Tomato Plants
To start with the soil preparation, firstly remove all previous crops, weeds, or debris from the soil. Then, use a garden trowel or a fork to break up the soil and make it loose. This is important as compact soil can hinder the root growth of the plants. Once the soil is loosened, enrich it with organic matter. Use compost or aged manure and mix it thoroughly with the soil. The amount of organic material to be added would depend on the type of soil and the quantity of pre-existing nutrients. Once the compost is mixed, allow the soil to rest for a couple of weeks before planting.
Planting Techniques for Tomatoes
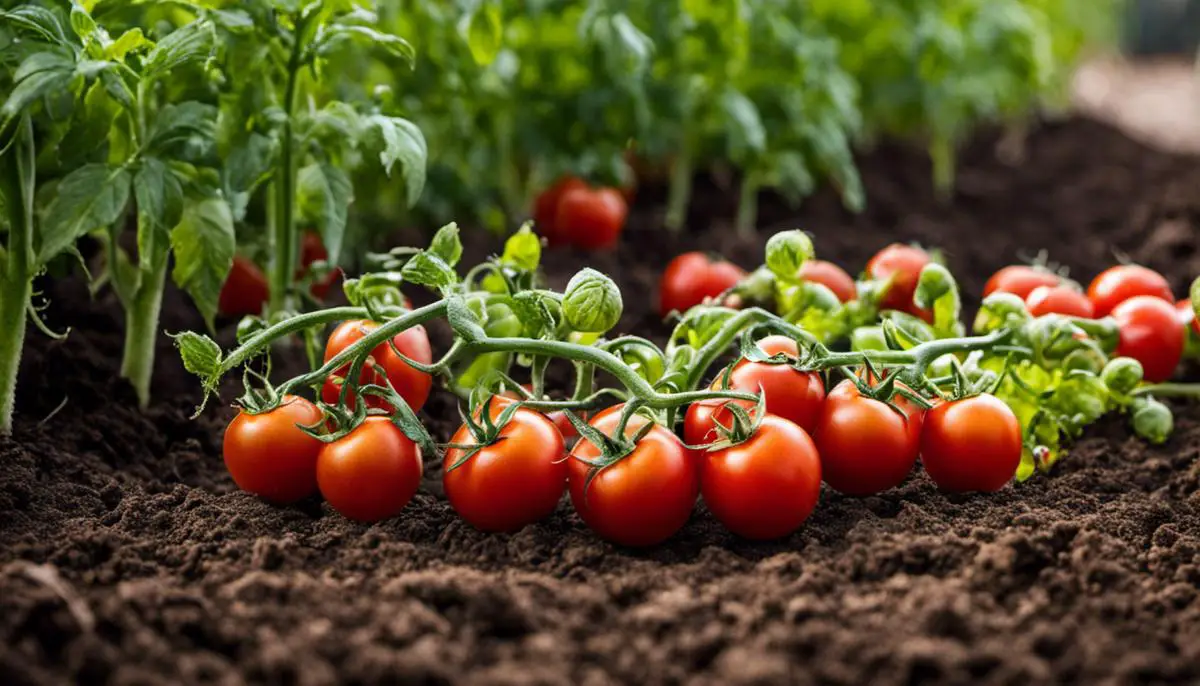
When ready to plant tomatoes, dig a hole that’s approximately twice the width and depth of the tomato plant’s root ball. For tomato seedlings, plant them deep enough so that the lower set of leaves is just above the soil level. This encourages new roots to form along the buried stem, helping the plant establish quicker and with more stability. Cover the roots and stem with soil and press lightly to remove any air gaps.
Ensure a minimum distance of 24-inch between each plant if using a staking method, and about 36-inch if the tomatoes will be using caging. This helps with providing adequate space for sun and air to reach all parts of the plant, helping with the prevention of fungal diseases. Stick, or ‘stake’, each plant soon after planting if you opt for the staking method. This helps to keep the plant upright, avoids damaging the roots later on and can help prevent soil diseases from infecting the plant. Alternatively, you can use tomato cages as a support for your plants.
Watering and Fertilization For Tomato Plants
After planting, water the plants thoroughly. The nascent roots of the plants require enough water to provide hydration and to help them break through into the soil. However, be aware not to overwater. Soggy conditions can lead to root rot and other water-borne plant diseases. In the growth phase, water the plants deeply. It is important to water at the base and not over the leaves to prevent fungal diseases.
In terms of fertilizing, provide the plants with a balanced tomato-specific fertilizer after planting and follow the instructions on the label. You could also look up signs of nutrient deficiency in tomato plants to understand better if the plants require any additional nutrients than what is being provided. Fertilize every few weeks according to the need of the plants, avoid over fertilization as it could lead to lush greens but poor fruit set.

Pest and Disease Management
Understanding Tomato Pests and Diseases
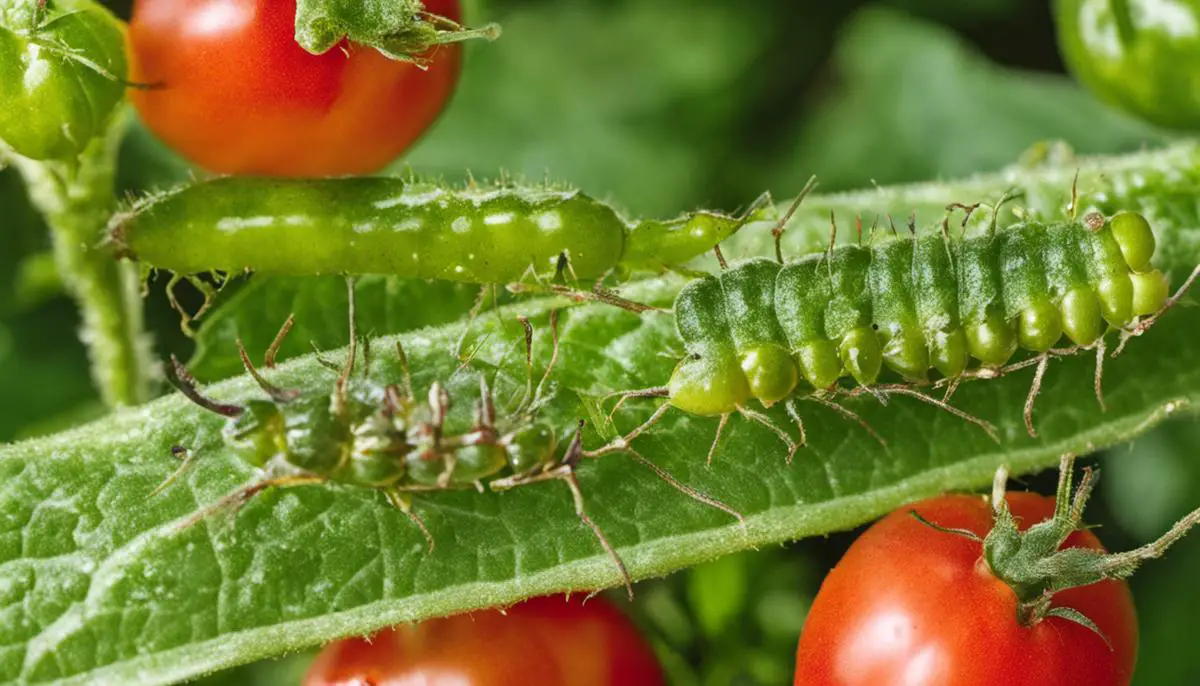
Various pests and diseases affect tomato plants, hampering their growth and decreasing productivity. Common pests include aphids, tomato hornworms, and whiteflies, while diseases include blight, wilt, and powdery mildew.
Preventive Measures for Tomato Plants
To keep tomato plants healthy, ensure they have adequate sunlight, water, and nutrients. Also, rotate your crops each year to disrupt the life cycle of pests and diseases. Furthermore, clean your garden regularly to eliminate potential hiding and breeding places for pests.
Pest Management of Tomato Plants
Aphids, small insects that suck plant sap, are common pests. An organic way to control them is through introducing beneficial insects like ladybugs that feed on them. Another strategy is regularly spraying the plants with water to knock these pests off.
Tomato hornworms are large caterpillars that damage tomatoes by eating their leaves. They are quite visible, hence easily handpicked and discarded. Also, attracting their natural predators like wasps can help in controlling them.
For whiteflies, yellow sticky traps can help detect their presence and limit their numbers. Regularly inspecting the underbody of tomato leaves can also assist in identifying and mitigating an infestation early.
Disease Management of Tomato Plants
Blight is a fungal disease causing tomato leaves to brown and die. Ensure the leaves are dry — water the soil, not the plant — to inhibit fungal growth. Additionally, using a copper-based fungicide can prevent blight.
Wilt results from a fungus in the soil causing the plant to droop and eventually die. Crop rotation, where you don’t plant tomatoes in the same spot for at least three years, can help avoid it. Also, choose wilt-resistant varieties.
Powdery mildew, identifiable by white patches on leaves, thrives in damp, shaded conditions. To mitigate it, water your plants in the morning as this gives them ample time to dry out during the day. Also, plant in sunny spots and trim off infected leaves immediately.
Regular inspections of your tomato plants will allow early pest and disease detection, enabling you to manage them before they get out of control. Using organic controls will keep your tomatoes chemical-free, ensuring they’re safe for consumption.

Harvesting and Storage
Recognizing Harvesting Time for Tomatoes
Picking tomatoes at the correct time can greatly contribute to their taste and longevity. As the maturing process of tomatoes is quite evident, it is not a daunting task to determine when they are ripe enough for harvesting. Look for bright, even colored tomatoes with a slightly soft feel. Their skin should be firm but there should be a slight give when you gently squeeze the tomato.
Various tomato varieties may present different signs of readiness for harvesting. Some start turning red from bottom to top, while others might do so in the opposite manner. Therefore, it’s crucial to be patient and observe your tomatoes’ ripening routine to understand the perfect time for harvesting.
Harvesting Techniques
Harvesting should be done gently to avoid injuring the plants or bruising the tomatoes. Hold the fruit firmly and twist it until it is released from the stem, or use a pair of garden shears or scissors to avoid breaking the branches. Avoid harvesting wet tomatoes as this might spread diseases among the plants.
Tomato Storage Tips
Preserving tomatoes appropriately reduces the chances of spoiling and ensures their flavor remains intact. Never store tomatoes in the refrigerator as cold temperatures tend to alter their flavor. Instead, keep them at room temperature, out of direct sunlight and ideally upside down (with the stem end down) to allow the tomatoes to ripen evenly.
Saving Seeds for Next Season
If you wish to keep the tomato lineage alive in your garden, you can save seeds from your harvest. Choose the best specimen from your crop, preferably a disease-free, robust, and flavorful tomato. Cut it across the middle and squeeze out the seeds along with the surrounding gel.
Place this mixture in a jar with a bit of water, and allow it to ferment at room temperature for approximately three to five days. Stir it daily until the seeds fall to the bottom of the jar. Drain the liquid and spread the seeds out to dry. Once thoroughly dry, store the seeds in labeled envelopes in a cool, dry, and dark location.
Preserving Tomatoes
For long-term preservation, you can consider freezing, dehydrating, or canning the tomatoes. Canned tomatoes can be used in sauces and soups throughout the year, while dehydrated ones are perfect for use in stews and casseroles. Freezing tomatoes is the most straightforward method: just clean them, remove the stems, and place them in vacuum-sealed bags.

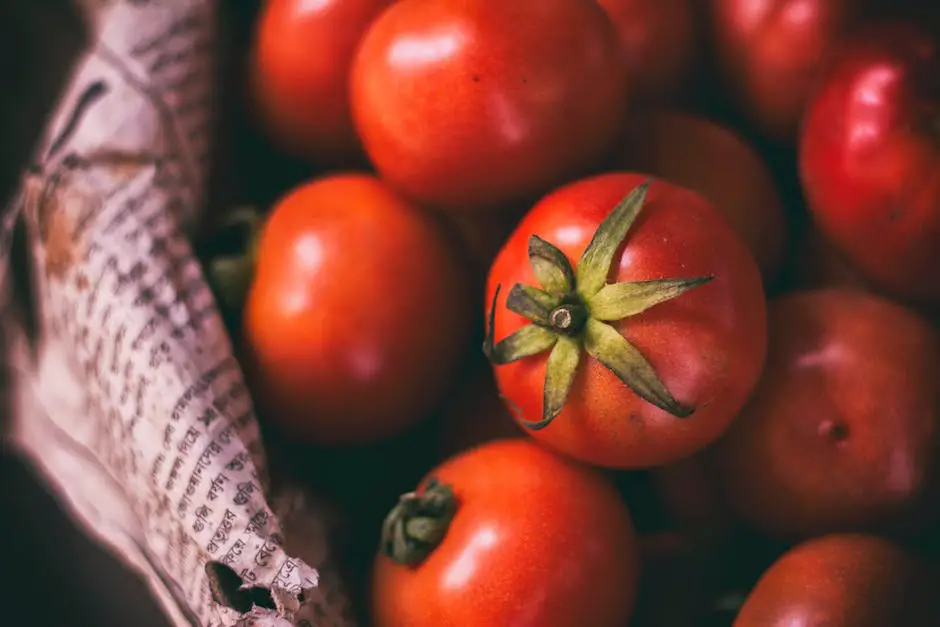
Photo by frostroomhead on Unsplash
By keeping an eye out for common pests and diseases, ensuring your tomatoes remain vibrant and healthy becomes more manageable. The use of organic controls emphasises sustainability while serving as effective solutions. But the journey doesn’t end there. Harvesting your ripe, red fruits at the right time is imperative to experience their true flavor potential. But what happens post-harvest? We dive into ways to optimally store tomatoes and even extend their life by preserving. And if you find a variety you particularly love, learning how to save seeds ensures a continued supply in your next planting season. Throughout this journey, remember that the key to a successful tomato harvest lies in not just the technicalities, but also in the passion one puts into the project.
