Table of Contents
Canning tomatoes at home can be an enjoyable, satisfying, and practical skill that leads to year-round access to your own harvest, even during off-season. Understanding the process not only allows you to enjoy the burst of summertime favor in every jar, but also gives you control over your product — a luxury that’s not often available with store-bought items. In this discussion, we delve into the steps necessary to ensure a successful canning process from choosing and preparing your tomatoes, understanding the canning process as well as giving emphasis on safety and preservation to prevent foodborne illness and ensure the longevity and quality of your canned tomatoes.
Choosing and Preparing Tomatoes
Choosing the Right Tomatoes
When your goal is canning tomatoes, it’s imperative that you start with the best possible base: fresh, ripe tomatoes. Picking them at the peak of ripeness ensures optimal flavor and texture. Look for tomatoes with a rich, vibrant color. Depending on the variety, this could be a deep red, a bright orange, or even a lush purple. The skin should be taut and shiny, but not cracked or bruised. Feel for a firm texture, but one that yields slightly under gentle pressure. Avoid any tomatoes that feel hard or have spots of mold. Size does not necessarily indicate quality, so don’t be overly concerned with choosing the largest tomatoes you can find.
Know When They’re Ripe
A ripe tomato will have a deep, powerful aroma. Hold it to your nose and take a sniff. It should smell sweet and slightly earthy. But the real test of ripeness is in the tasting. Cut a small piece and taste it. It should be juicy and slightly sweet, with a balance of acidity. If it tastes bland or overly acidic, it’s not ripe yet.
Preparing Tomatoes for Canning
After you’ve chosen your ripe tomatoes, it’s time to prepare them for canning. Begin by washing each tomato thoroughly to remove any dirt, dust or pesticides. Pat them dry before proceeding.
Next, you’ll want to skin your tomatoes. This step is optional but recommended for a smoother final product. To do this, use a sharp knife to score a small “x” on the bottom of each tomato. Then, immerse the tomatoes in boiling water for about a minute or until the skins start to peel back. Immediately plunge them into cold water to halt the cooking process. The skins should slip right off.
Finally, cut out the core and any bad spots. Then, if desired, chop or crush the tomatoes. Now, your tomatoes are prepared and ready for canning!

Canning Process
Gathering Your Canning Supplies
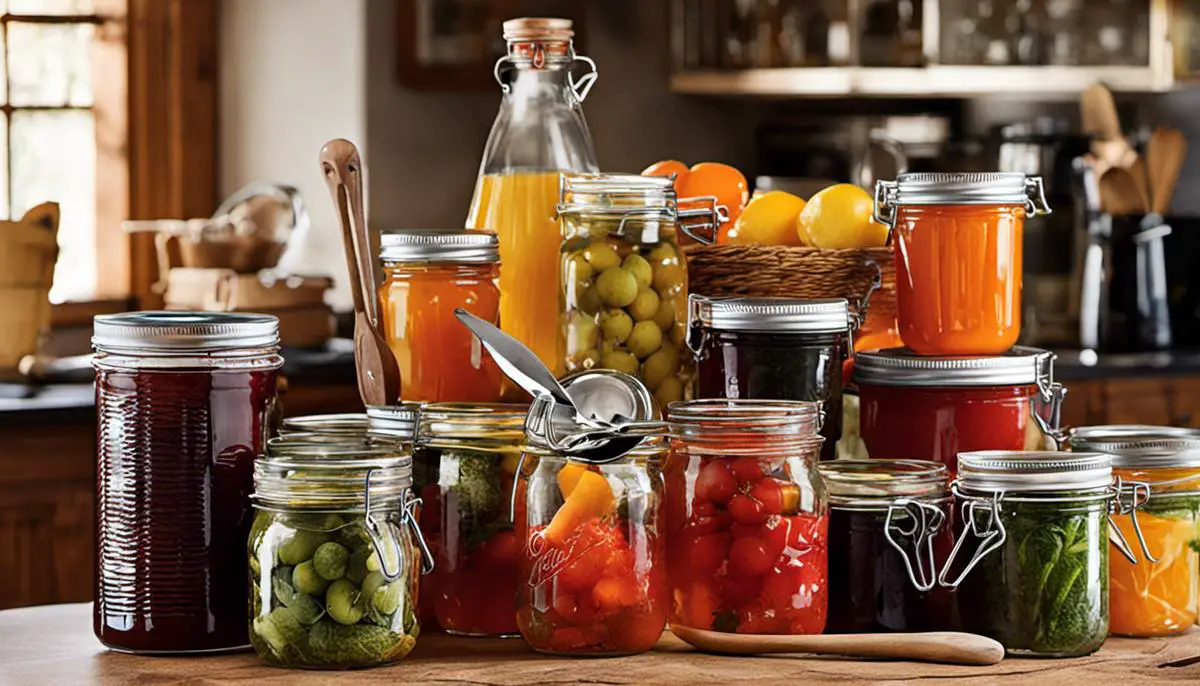
As a first step towards canning tomatoes, you need to gather all necessary supplies. This includes glass jars (quart or pint-size, depending on your preference), preserving lids and bands, a jar lifter, large ladle, a canning funnel, and a water bath canner with rack.
Sterilizing the Jars
First, start with clean jars. Wash them with hot, soapy water, then rinse well. To sterilize the jars, fill your canner half full with water and place your jars in the rack. Ensure the jars are covered with water and bring it to a rolling boil. Boil for about 10 minutes and then turn off the heat, leaving the jars in the hot water until needed.
Preparing the Lids and Bands
Lids should not be boiled, but they do need to be heated prior to canning to ensure a good seal. So, while the jars are boiling, place your lids and bands in a medium-sized pot, cover them with water, and let them simmer at a low-temperature until needed.
Preparing the Tomatoes
Rinse your tomatoes in cool water and then blanch them by submerging in boiling water for about 1 minute, then cool by placing them in ice water. Remove the core and skin. If you prefer chunks, dice the tomatoes and if you like them whole, leave as is but cut two slits, cross-wise, at the bottom.
Filling the Jars
Place the sterilized jars on a clean towel. Use a canning funnel and ladle to fill jars with tomatoes, leaving about 1/2 inch of headspace. If you want to pack them in a solution (either juice, water or tomato puree), fill the jar up to two-thirds with tomatoes and then top with your chosen solution, again leaving 1/2 inch headspace.
Releasing Air Bubbles and Sealing the Jars
Slide a non-metallic spatula around the jar to release any air bubbles that might be trapped. Adjust the headspace, if necessary, by adding more tomatoes or solution. Wipe the rim of the jars with a clean kitchen towel, place a prepared lid on each jar and apply the band until it is “finger tight”, which means it’s just as tight as you can get it using only your fingers.
Processing the Jars
Now it’s time to process the jars. Use a jar lifter to put the filled jars into the canner on the rack, making sure the jars are covered by at least 1 inch of water. Cover the canner and bring the water to a gentle, steady boil. Quart jars should be processed for about 45 minutes and pint jars for 40.
Cooling and Storing the Jars
After processing, turn off the heat and remove the canner lid. Wait 5 minutes before using the jar lifter to remove the jars. Place the jars on a towel and leave them undisturbed for 12 to 24 hours. Test the seals by pressing on the middle of the lid. If it springs up when you release your finger, the lid is not sealed.
Once sealed properly, you can store canned tomatoes in a cool, dry place, out of direct sunlight, for up to a year. And voila! You have successfully learned how to can tomatoes.

Safety and Preservation
Required Materials for Canning Tomatoes
Firstly, ensure you have gathered all the required materials. This includes fresh tomatoes (preferably ripe, red, and free of disease or damage), lemon juice, canning jars, lids, and screw bands, as well as canning equipment such as a jar lifter, funnel, and a water bath canner.
Washing the Tomatoes
Before embarking on your canning journey, it’s necessary to wash the tomatoes thoroughly. This will prevent any foodborne diseases. Run cold water over the tomatoes and use a vegetable brush to gently scrub their surface. More importantly, ensure your workspace is clean and all your canning equipment has been sterilized.
Peeling and Prepping the Tomatoes
Next, you need to peel the tomatoes. To do this, blanch them by boiling for about a minute, then quickly plunging into an ice bath. This will make the skins easy to remove. Once peeled, remove the core with a sharp knife. The tomatoes should then be cut into quarters or left whole, depending on preference.
Packing the Jars
After prepping the tomatoes, start packing them into the sterilized jars. Ensure that you leave half an inch of headspace, which is the gap between the top of the food and the top of the jar. This space is necessary for proper vacuum sealing. Also, remember to add two tablespoons of lemon juice to each quart jar before adding tomatoes. This helps retain the tomatoes’ color and strengthens their acidity, essential for safe canning.
Processing the Jars
Once the jars are packed, wipe the jar rims, apply the lids and screw bands. Now, it’s time for processing with a water bath canner. Place the jars in the preheated canner, ensure the jars are fully immersed in the water, and start timing when the water returns to a slow boil. Process the jars for 40 minutes for pints and 45 minutes for quarts.
Cooling and Storage
After processing, let the jars cool down. Once cooled, check the seals. The lids should not flex up and down when the center is pressed. If the lid does not flex, the jar is properly sealed and ready for storage. Any unsealed jars should be refrigerated and used first. Properly sealed jars can last up to a year when stored in a cool, dry place.
Safety Tips
Throughout this process, take safety precautions to avoid burns or other accidents. Use a jar lifter when handling hot jars, avoid touching hot surfaces bare-handed, and keep children away from boiling pots. Always allow the jars to cool naturally; rapid cooling might cause the jars to break.

Through this enlightening discussion, the whole process of canning tomatoes has been illuminated. Truly, the journey from choosing the right, ripe tomatoes for canning to the satisfaction of hearing the lids pop sealing in the flavors of summer is an experience worth having. Mastering the craft of canning is not only a way of preserving your tomatoes, but it is also a lifestyle choice towards sustainability, health, and convenience. Now, armed with knowledge about the process, safety, and preservation principles, you are ready to begin your canning journey and create beautiful jars of preserved tomatoes that burst with flavor, ready to be enjoyed all year round.
