Table of Contents
Coconuts, with their unique flavor and a multitude of health benefits, are a versatile staple in many kitchens around the world. In this exploration, we delve into the heart of the coconut, discussing its various parts and their myriad uses – focusing specifically on the role of the coconut in the production of coconut milk. As a healthier, dairy-free alternative for a plethora of culinary endeavors, understanding where coconut milk originates from in the fruit not only adds appreciation to its nutritional value but also reveals the potential for homemade alternatives.
Preparation is the key for any culinary masterpiece and the same goes for making coconut milk. We’ll dive into the necessary tools and preparation methodologies required to extract milk from a coconut. It might sound daunting at first, but with the right knowledge and guidance, it’s a process that can be both rewarding and enjoyable.
Understanding the Coconut
Understanding the Coconut
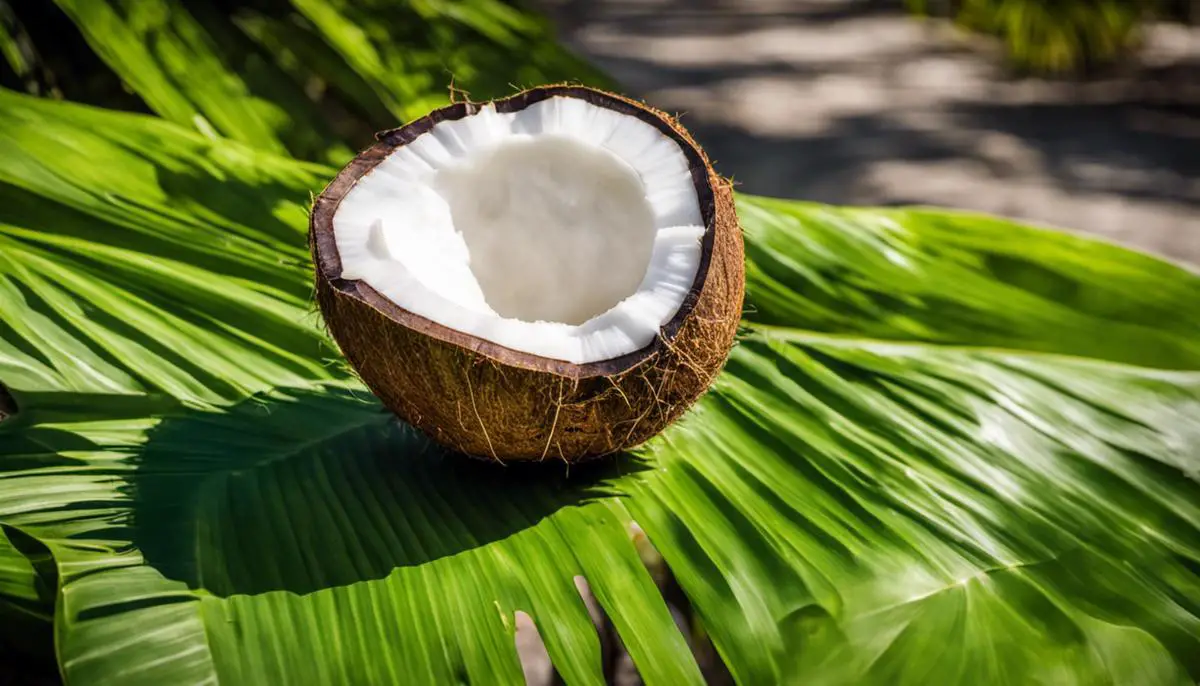
The coconut fruit is an essential product that provides a plethora of uses, depending on its stage of maturity. The outermost layer of a coconut, known as the husk, is a green shell composed of fibrous strands. This husk protects the inner nut and is also used to create items like ropes, brushes, and doormats.
Coconut Milk and its Qualities
To create coconut milk, the mature meat of the coconut is the part extensively utilized. This is because mature coconut meat, when finely grated and soaked in hot water, the resultant liquid squeezed out from it is rich and creamy, capturing the full essence of coconut flavor.
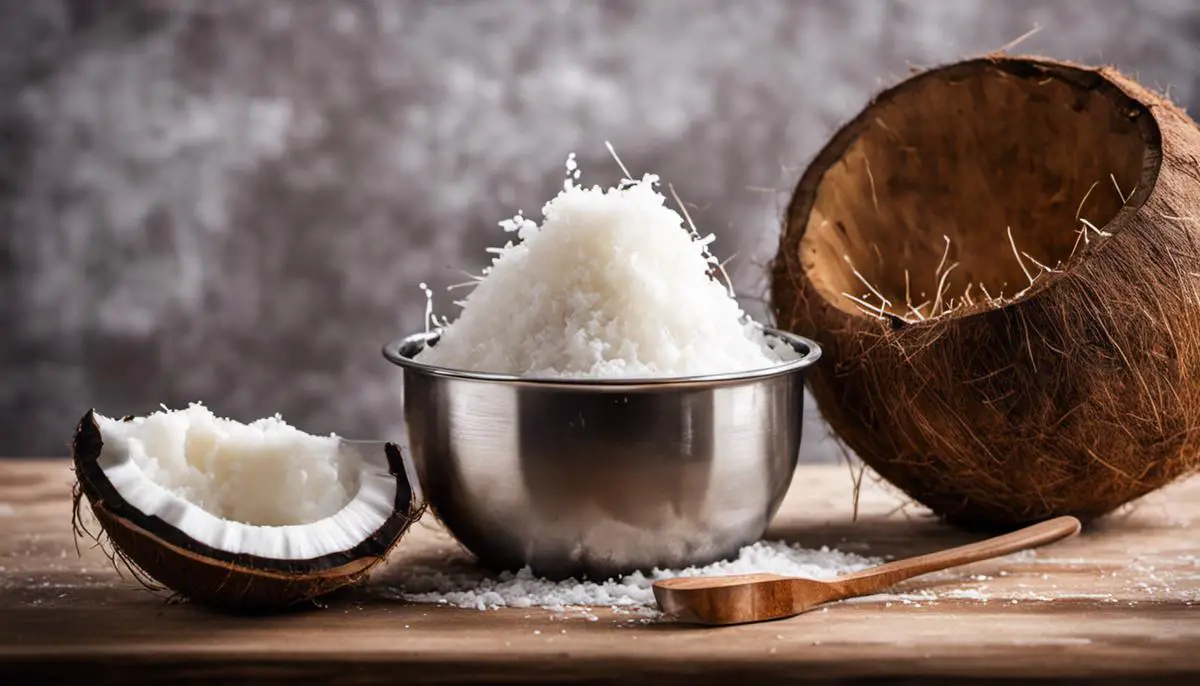
Making coconut milk at home requires grating the coconut meat, soaking it in hot water, and then squeezing it through a cheesecloth or strainer. The squeezed liquor appears milky and is not to be confused with the naturally occurring coconut water.
Coconut milk is a healthy option for several reasons. It’s vegan, making it a great substitute for traditional dairy. It’s rich in vitamins and minerals, including vitamins C, E, B1, B3, B5, and B6 along with iron, selenium, sodium, calcium, magnesium, and phosphorus. Coconut milk is also known for its rich taste that enhances a variety of food items, including curries and desserts. It’s also lactose-free, making it a healthy alternative for individuals who are lactose intolerant.
Why Coconut Milk?
Coconut milk provides a healthy source of fat, specifically medium-chain triglycerides (MCTs), which are known for their potential benefits to heart and brain health. It also contains lauric acid which has antimicrobial and anti-inflammatory properties. However, while coconut milk is establishing itself as a superfood, it’s advisable to enjoy it in moderation due to its high calorie and saturated fat content.
So, understanding the intricacies of the coconut plant, especially its mature stage, and appreciating its health attributes can lead to a greater enjoyment and utilization of this versatile fruit. Whether for hydrating, eating, growing plants, producing milk or even making crafts, one only stands to gain from this tropical wonder.

Preparation and Tools
Required Tools for DIY Coconut Milk
For making DIY coconut milk, you’ll need a sharp knife, a sturdy cutting board, a hammer, a fine grater or a blender, a large bowl, a sieve, cheesecloth, and a storage container.
The knife and cutting board are for slicing the coconut in half. Opt for a durable and sharp knife as coconuts can be tough to cut through. Make sure your cutting board is sturdy too—any kind of board is acceptable as long as it can handle the pressure.
Recruit a hammer to break the coconut into more manageable pieces. Unlike typical cooking, the creation of coconut milk needs some brute force.
Preparing the Coconut
To start with, carefully hold the coconut with a towel to stabilize it and slice it in half. A small trick to effortlessly crack the coconut open is to locate its three eyes; two eyes will be slightly softer. Whack the knife hard into the line connecting these two eyes, and the coconut should break open. Once opened, the coconut water will come out. You could consider saving this water as it is incredibly nutritious and hydrating.
Next, use the hammer to break the coconut half into smaller fragments. The smaller the pieces, the easier it will be to extract the milk. Be careful during this process to prevent any injuries.
Once the coconut is broken into smaller chucks, it’s time to remove the meat. This is where your grater or blender comes in. If you are using a grater, simply scrape the meat out. If you prefer a blender, chop the meat into small pieces before blending.
Extracting the Coconut Milk
To extract the coconut milk, place the grated or blended coconut meat into the large bowl. Now you’ll need to add hot (not boiling) water—just enough to completely submerge the coconut. Leave it for a few minutes to allow the coconut to absorb the water.
After soaking the coconut, you will need to strain the mixture through a sieve and cheesecloth to separate the milk from the coconut meat. Make sure to squeeze the cheesecloth to extract as much milk as possible.
Once you’ve strained all the milk, transfer it to your storage container. It’s always best to store your homemade coconut milk in the refrigerator. It will stay fresh for four to five days. Shake well before use as the cream may separate from the liquid.

Coconut Milk Extraction Process
Choosing the Right Coconut
Selecting the right coconut is the first crucial step in making your own coconut milk. You’ll want to pick mature coconuts with a brown, hairy shell rather than the green young coconuts. Mature coconuts have a thicker layer of meat inside, which is perfect for making coconut milk. You can test the quality of your coconut by shaking it. If you hear some water sloshing around inside, it’s a good fresh coconut.
Opening the Coconut
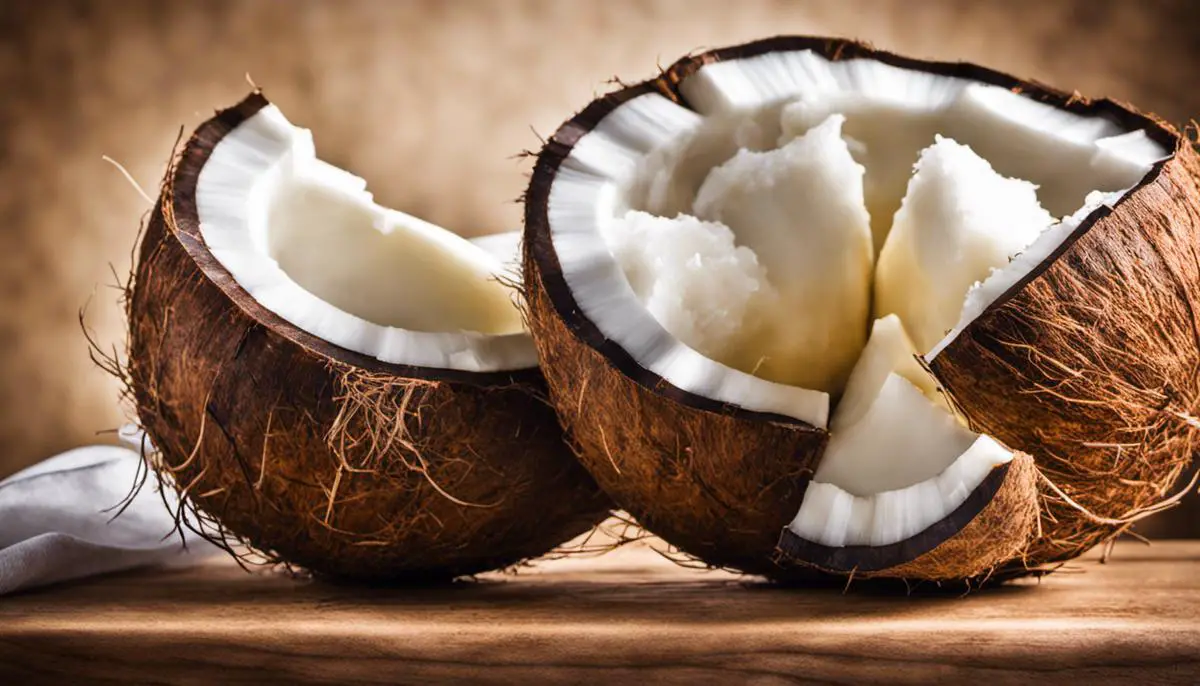
The first step towards opening a coconut is locating the three “eyes” on top of it. Two of these three eyes will be softer than the third one. Take a sharp object like a corkscrew or screwdriver and pierce the softer eyes. Then, turn the coconut upside down over a container to drain out the coconut water. You can also drink this water, as it’s quite refreshing. After the water is drained, you need to crack open the coconut shell. One way to do this is by striking the coconut along its “equator” with the backside of a heavy cleaver or hammer, rotating as you hit. The shell should start to crack. Once cracked open, you can separate the meat from the shell.
Removing the Coconut Meat
To remove the coconut meat, first preheat your oven to low heat, about 400 degrees Fahrenheit. Place the cracked coconuts with the white meat facing up on a baking sheet and put into the preheated oven for 10-15 minutes. The heat will make the meat shrink and pull away from the shell, making it easier to pry it off. After taking out the shells from the oven and letting them cool, use a knife or old butter knife to pry off the meat.
Preparing the Coconut Milk
You can now process the coconut meat to extract the milk. You will need to grate the coconut meat. The easiest way to do this is by using a food processor. If you don’t have this kitchen gadget, a standard grater will work fine as well. After grating the meat, combine it with warm (not boiling) water in a large bowl. The ratio should be two parts water to one part coconut meat.
Straining the Mixture
After mixing the grated meat with water, you can proceed to strain it. Line a sieve or colander with multiple layers of cheesecloth and place it over another large bowl or jug. Pour the coconut mixture into the lined sieve and allow it to strain through. To ensure you get all the milk out, gather the sides of the cheesecloth and twist the bundle of coconut meat, squeezing as much of the milk out as you can.
Storing the Coconut Milk
The freshly squeezed coconut milk can be used immediately or stored for later use. If you do not intend to use it immediately, you can keep it in the refrigerator for up to five days, or you can freeze it for up to three months. Always ensure that it’s in an airtight container before storing.
Dealing with Leftover Coconut Meat
Don’t throw away that leftover coconut meat. It can be dried out and used as desiccated coconut in various recipes. Spread it out on a baking sheet and bake at a low temperature of about 250 degrees Fahrenheit for 20-25 minutes, or until it’s dried out.
By following these steps you will end up with a batch of fresh, preservative-free, and absolutely delicious coconut milk that you can use in a variety of dishes and beverages.

After coming to the end of our coconut journey, it’s evident how delightful and easy it can be to extract coconut milk right at home. We’ve unpacked the methods, helping you understand the process and showing you the tools you’ll need to make it all happen. But, the practical beauty of this knowledge doesn’t rest solely on learning how to make your own coconut milk. It opens a new perspective towards appreciating the hidden complexities and benefits of the foods we consume, in this case, the humble coconut. Whether it’s for dietary needs, flavor preference, or simply a love for DIY projects, creating your own coconut milk is a fulfilling task that’s bound to deliver.
Remember, our exploration doesn’t stop here. Your kitchen is a realm full of culinary adventures that await. So, with a coconut in hand and newfound knowledge in mind, why not start your DIY journey with homemade coconut milk? Happy Coconuting!

